Pages

Saturday, May 21, 2011

Farewell Dinner...

Farewell Dinner: 20-May-2011

I found this cake idea & wanted to try to reproduce it... & here this is the result, my version of it anyway (which is pretty close, I think... don't you... *hehe*)


Baked this cake to share with the lovely ladies (& hubbies who came too) of the FGA ladies' group who attended the farewell dinner for Aunty Breda & Uncle Koo...
 
We will miss you both greatly! Come back for visits soon!

 I baked chocolate cupcakes and the Asian cotton soft cheesecake as the cake in the middle. Both the cupcakes and the cheesecake was covered in Vanilla Butter Cream Cheese Frosting that was absolutely yum... (btw, the chocolate version of this frosting placed ontop of the chocolate cupcakes will be the best ever combination!!) 

The farewell dinner was held at Ma Brown Restaurant. Details as follows:

Ma Brown Restaurant
Shop 6, 188-190 Belmore Rd,
Balwyn 3103.

Tel: 9816 3755.


Cutting the cake...

We had a great time there. The company was great & the food was EXCELLENT! It isn't a big restaurant and can get awfully crowded so it would be good to call & make a booking if you wanted to dine there. Just a word of caution, they do try their best but they are rather understaffed so many times you'd need to help yourself to things like tea refills, etc. It is best to book & pre-order your dishes as well as they will take awhile to attend to you when the restaurant gets super busy. Their signature dish is the spicy quails which I've been told you'll have to order at least 3 days in advance but it was totally YUMMY!

The cake was transformed into a
"tears of joy" cake by A. Breda! :-)


FGA Ladies' Group with A. Breda & U. Hock Poo


Here are pictures of what was ordered for that night...
 
Specialty Spicy Quails - we ordered 2 each! Yummy!!
Yummy crispy duck... Mmmm...
(but help yourself to sauce coz we asked for plum sauce
& chillie oil too, both of which never came!)
Braised Pig Trotter with Herbs
Teow Chew Steam Fish
(sauce is slightly sourish because of the sour plums used)
Sambal Long Beans - YUM!
Prawns with special sauce
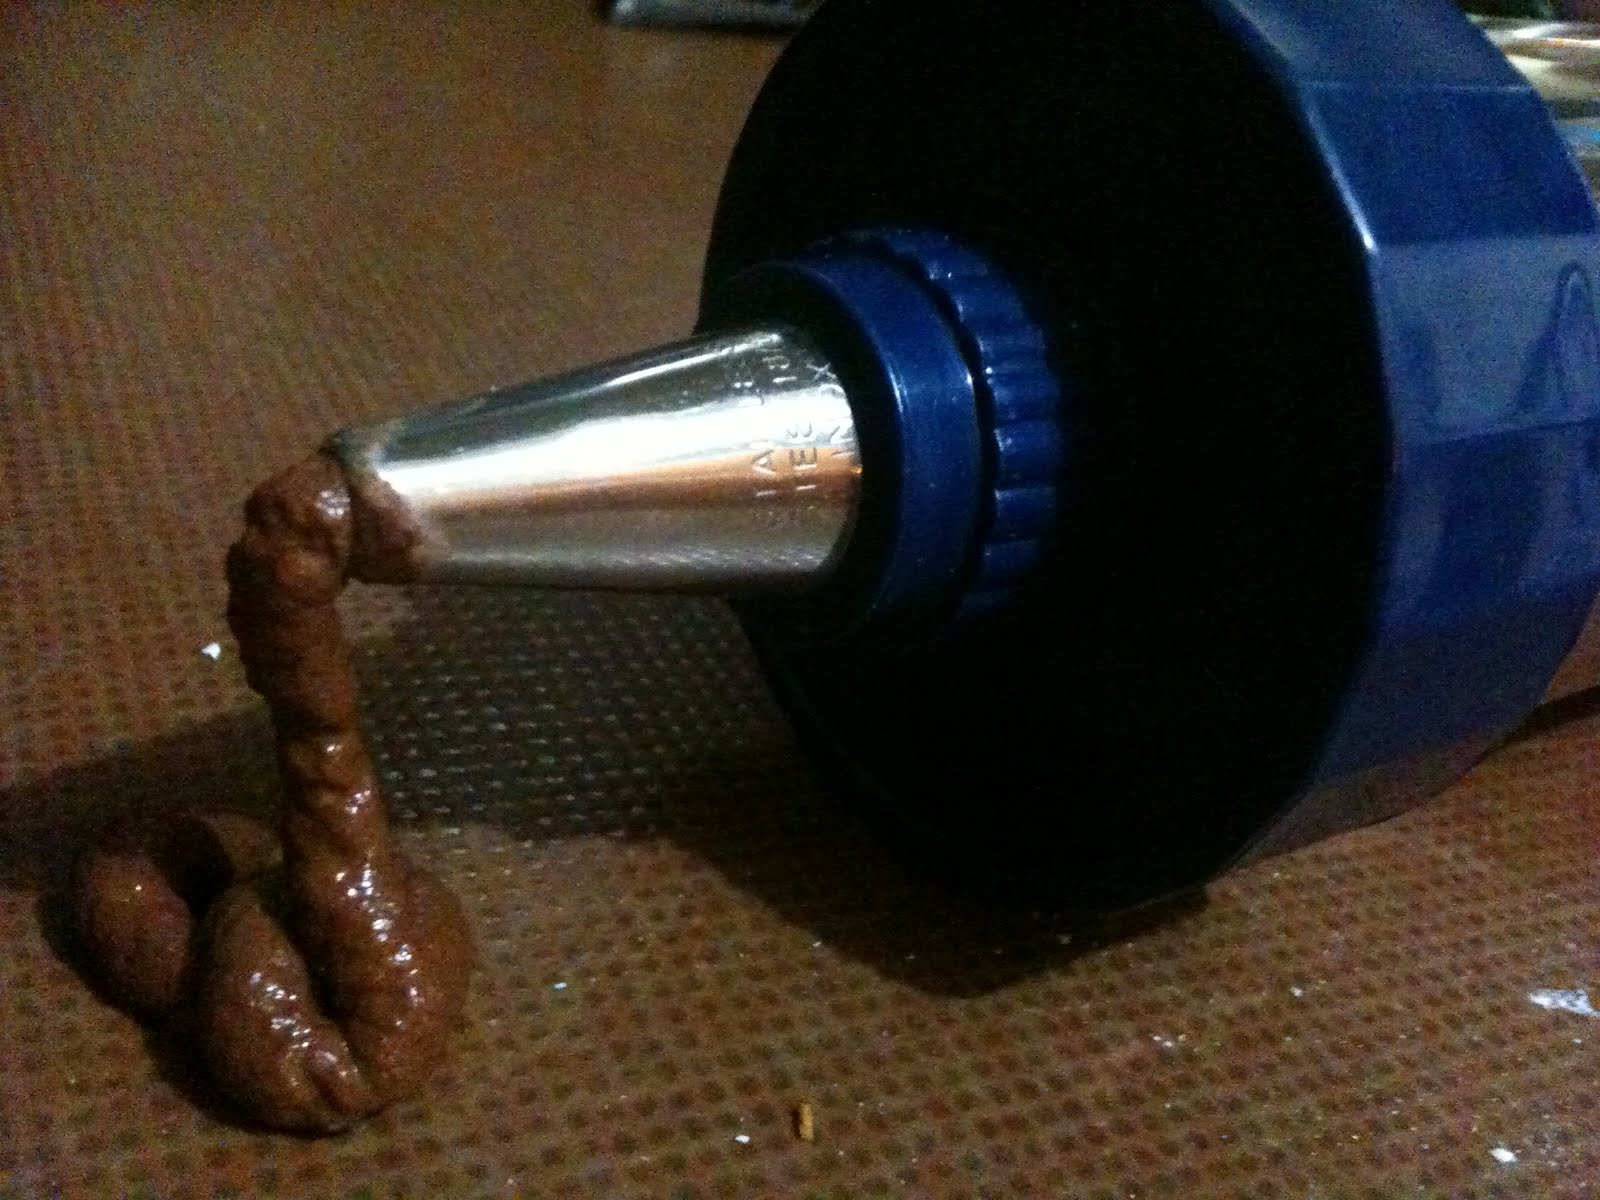
And, just for the ladies who attended -
GUESS THE NAME OF THIS LAST DISH! 
*hahahahaha*
Red Bean Soup for Dessert...


Share/Bookmark

Tuesday, May 17, 2011

Birthday Soccer Cake

Birthday Celebrations: 15-May-2011


We celebrated little Josh's b'day yesterday with a little surprise birthday party... His mum, Mary was most delighted & happy... Yay! :-D Blessed Birthday little Josh... :-)

 
Yummy Caaakkkkeeee!!!  :-)

 
The most moist delicious chocolate cake
I baked the case (the green field) as a chocolate cake and the soccer ball as an Asian cotton soft cheesecake. Both the base and the ball was covered in Vanilla Butter Cream Cheese Frosting that was absolutely yum... (btw, the chocolate version of this frosting is absolutely the best ever!!) - Part of the frosting was dyed with green & yellow dyes to the right color, then used to cover the base of the cake followed by a healthy sprinkling of rough coconut shavings that had also been dyed with green & yellow dyes.The other part was left as is to cover the "white" part of the ball. The small amount left was dyed with black as dark as I dared go without altering the taste of the frosting resulting in a dark grey instead of a black. If black was absolutely necessary, try using gel or powdered coloring, the colors will be much more intense. The little flower rosettes that made up the soccer ball, giving it color & shape was done using a #5 tip on an icing gun...
The Asian Cotton Soft Cheese Cake
Contrary to belief, I had an absolutely great time decorating this cake! I find it relaxing & fun...  *hehe*  Thanks heaps Anne for providing me with yet another perfect excuse to bake & decorate more cakes... LOL!

Blessed Birthday to you once again Josh... We love you heaps! :-)


Share/Bookmark

Monday, May 16, 2011

Egg and Bacon Pies - Lunchbox Idea!

Lunch Box: 11-May-2011


This is excellent for lunch boxes (& picnics) because they can be eaten cold too! :-) Plus my fussy daughter actually loves it! I'm shocked as she doesn't like eating hard boiled eggs on their own... Hmmm funnily enough though, my normally not fussy son doesn't like this... Odd...

Recipe from: recipes+ mag, May 2011 issue, pg 15.

Yummy... what's on the inside...
To freeze: Wrap, individually, in a double layer of plastic food wrap; freeze for up to 3 months.
Thaw: in fridge overnight.
Reheat pies on a baking tray covered with foil. Bake in an oven preheated to 180C/160C fan forced for 15 - 20 mins or until heated.
DIY idea: Replace bacon with ham, salami or pastrami.

Pies can be eaten cold and are great for picnics and packed lunches.

Makes 8
Preparation: 20 mins
Cooking: 20 mins
2nd batch I made 12 pies!!

Ingredients:
2 sheets frozen shortcrust pastry, thawed
3 bacon rashers, rind removed, finely chopped
2/3 cup grated tasty cheese (I used mozzarella cheese)
8 eggs, at room temp
1 tbsp finely chopped flat-leaf parsley, to serve (optional)

Method:
1. Preheat oven to 200C/180C fan forced. Cut pastry into quarters (squares). Line 8 holes of a 12-hole (1/3 cup) muffin tray with pastry squares.
2. Sprinkle bacon & cheese into pastry cases.
3. Carefully crack 1 egg into each case.
4. Bake for 20 mins or until egg is set & pastry is golden.

Optional extra: Top with more cheese after 10 -15 mins of baking then carry baking till pastry is golden & egg set & cheese on top has melted.

4 Remove from oven. Stand in tray for 5 mins, then carefully transfer to a wire rack to cool.
[If freezing freeze at this point, see tips above]

5. Serve pies sprinkled with parsley.
Share/Bookmark

Chicken Pasta Soup with Mozzarella Toasties

Dinner: 10-May-2011

My MIL has declared this the best ever chicken meatballs... so it has to taste pretty good, even though my daughter declared she didn't like it (I think it was the presence of onions & vegies that she didn't like, really... LOL!)  They were really easy to make & tastes real nice too... without all the added yucky stuff you find in commercial chicken meatballs...

Recipe from: recipes+ mag, May 2011 issue, pg 13

DIY idea:
1. Replace meatballs with sausages. Trim ends from casings & squeeze meatball sized balls into pan.
2. Use spaghetti instead of angel hair pasta.
3. Process 1 slice day-old white bread for crumbs.
4. Halve quantities if you have little freezer space.

Note: If not freezing soup, omit step 3 below.

serves 6
Preparation: 30 mins
Cooking: 15 mins


Meatballs to be cooked
Ingredients:
For Chicken Pasta Soup:
700g chicken mince
1 clove garlic, crushed (or 1 tsp bottled garlic)
1 large brown onion, finely grated (diced finely)
Pinch chilli flakes (optional)
3/4 cup soft fresh breadcrumbs (I used a wholemeal bun & processed it myself)
1/4 cup finely chopped flat-leaf parsley, plus extra to serve
1/3 cup freshly grated parmesan, plus extra to serve
1 tbsp vegetable oil or olive oil
1 litre (4 cups) salt-reduced chicken stock
2 cups frozen vegetable mix
Meatballs cooked! Yum!
100g angel hair pasta, broken into 6cm lengths

Mozzarella Toasties:
12 thick slices white bread (I used Turkish buns cut into half)
1 cup coarsely grated mozzarella cheese

Method:
For Chicken Pasta Soup:
1. Combine mince, garlic, onion, chilli, breadcrumbs, 1/4 cup parsley and 1/3 cup parmesan in a medium bowl. Mix well then shape heaped tablespoons of mixture into 36 balls.
2. Heat oil in a large saucepan over moderately high heat. Add meatballs; cook and turn for 5 mins or until browned.
3. Place stock in a large saucepan. Bring to the boil over moderate heat. Add vegetables. Reduce heat; simmer, uncovered, for 5 mins or until veggies are just tender. (If not freezing, go straight to step 5).
4. [TO FREEZE] Layer rows of meatballs between sheets of baking paper in an airtight container; freeze (for up to 3 mths). To reheat, thaw meatballs and stock mixture in fridge overnight. Place stock mixture in a large saucepan.
Finally all done! Dinner!
5. Bring stock mixture to the boil over moderate heat. Add pasta; gently boil for 5 mins or until pasta is tender. Stir in meatballs; cook for 2 mins or until heated. Season. Remove from heat. Stir in extra parsley.
6. Ladle soup into serving bowls. Sprinkle with extra parmesan. Serve with mozzarella toasties.

For Mozzarella Toasties:
1. Preheat sandwich press (or grill).
2. Sprinkle half the bread with cheese. Top with 1 remaining slice.
3. Cook toasties in batches, in sandwich press for 2 - 3 mins or until mozzarella melts & bread is golden.
Share/Bookmark

Monday, April 25, 2011

Zebra Butter Cake

Afternoon Tea: 25-Apr-2011


Well let's see here... My gf, Adeline posted a status on her FB account with this rainbow cake in mind... and me being me, I just couldn't help myself so I checked it out & so wanted to try it out *hahaha* but thought I should proceed to have a look at a few others for inspiration purposes... and found one from one of my fav bloggers, Not Quite Nigella. Reading her blog led me to her zebra cheesecake which I will do another time using the japanese cheesecake recipe I've found, tried & blogged about... but anyway, so I decided to a zebra version of the butter cake that a friend (Viv Kwan) baked yesterday for our FGA Chinese Church... The straight butter cake she baked tasted very yum & was very cool indeed... hence, the Zebra butter cake inspiration was born - I had all the necessary ingredients *haha*...

Ingredients (serves 12)
  • 250g unsalted butter, softened
  • 1 cup raw caster sugar
  • 2 teaspoons vanilla essence
  • 3 eggs
  • 2 1/2 cups self-raising flour
  • 2/3 cup milk (I used the usual Lactose free, low fat, Liddell's milk)
  • 2 tbsp unsweetened cocoa powder (Homebrand)

  • icing sugar mixture, to serve (optional)

Cake all done... will it look like a zebra?
Method
  1. Preheat oven to 160°C fan-forced. Grease and line bottom of an non-stick 8cm-deep, 19cm - 23cm (base) round cake pan with baking paper.
  2. Using an electric mixer, cream butter, caster sugar and vanilla in a medium bowl on medium-high speed until light and fluffy.
  3. Add eggs, 1 at a time, beating to combine until all eggs mixed in. Add half the flour. Stir to combine. Add half the milk. Stir to combine. Repeat with remaining flour and milk.
  4. Separate the cake mixture into 2 parts. Add the cocoa powder to 1 lot and fold cocoa powder in until well mixed.
  5. Zebra stripes = Success! Yay!! :-D
    Put tbsps of cream cake mixture into center of cake pan. Then add about 3 tbsp of chocolate mixture in the center of the cream mixture. Again, add 3 tbsp of cream mixture into center of choc mixture, etc. Keep doing this till all mixture has been used up. 
It is important that you do not tilt the cake pan. The batter will spread on its own. If it appears a bit thick, cut another baking paper the size of the cake base, then put on top of the batter to press batter down so that it spreads & reaches the sides of the cake pan.

6. Bake for approx 1 hour or until a skewer inserted into the center comes out clean. Stand in pan for 10 minutes. Turn out onto a wire rack to cool. Dust with icing sugar (I omitted this part). Serve.
This cake is rather versatile -
(a) if you want a normal butter cake, do the above but omit the part with the cocoa powder & just pour straight into a cake pan & bake.
(b) Try grating the rind of a lemon or orange & adding it to the batter, followed with a couple of tbsp of lemon juice or orange juice, mix well & bake.

ENJOY!!  My kids & hubby loved it... Hubby said was just right & perfect, I thought maybe perhaps the cake could be sweeter... 


Share/Bookmark

Friday, April 15, 2011

Homemade Fish Balls & Yong Tau Foo

Dinner: 15-Apr-2011


Finally successful with those fish balls... The first time I made these fish balls, I used my Barmix (stick blender) to blend the fish meat. However, I think I ended up "spoiling" the fish meat & when the fish balls were formed, they were not bouncy and ended up disintegrating when soaking in the salt water. Determined not to let that 1st bad experience damper my enthusiasm for home made fish balls, I went & bought Pike as recommended by my MIL... This time, I used the back of the knife to pound at the fish & then made those fish balls. They were a great success... Yay!!  The pictures you see here are from my 3rd time making these fish balls but using the Spanish Mackeral fish instead... THE BEST!!! Yummy...  :-) Totally ecstatic with the success of it... there was so much meat I made yong tau foo as well... sooo yummy!  :-)

Recipe adapted from: Rose's Kitchen Blog

Ingredients:
800g Spanish Mackeral (scraped flesh only), I have also used Pike & its pretty good but not as meaty compared to Spanish Mackeral & with longer strands that can get tangled within the fish meat...


Fish paste after Method 6
Solution A: 2 tbsp water + 1/2 tsp salt

Solution B:
100ml water
1/2 tsp sea salt
a dash of pepper
1 tbsp cornflour

Method:
1. Clean fish, wipe dry and fillet with a sharp knife (I got the fish monger to fillet fish for me when I bought it).
Method 8. Forming fish balls
2. Scrape fish flesh from skin and bones using a soup spoon. Note, scrape in direction of "grain" from center point moving outwards.
3. Place fish flesh on a wooden chopping board.
4. Pound the flesh of the fish with the back edge (not sharp edge) of chopper knife until very fine & starting to stick together, adding the salt solution A a little at a time.
5. Place the fish paste in a big bowl, stir in 1 direction until very sticky, adding solution B whilst stirring. You can add some chopped up spring onions, Chinese sausage, etc at this stage to add to the flavour of the fish ball.
6. Take handfuls of the fish paste & throw or slap it against the sides of the bowl till the paste becomes springy.
7. Grease hands & fingers with a little oil (I omitted this step & it was fine, just a little stickier, I guess).
Fish Balls soaking!
8. Take a lump of fish paste and gently squeeze paste out between thumb and index finger to form small balls.
9. Scoop out the balls of fish paste with a spoon and drop them into a bowl of water salted with 1/2 tsp salt.
10.Leave the fish balls to soak in salt water for at least 1/2 hr. (Note: If fish balls done correctly, it will not disintegrate in water! I have first hand experience in this as my 1st go was a total flop... LOL!).

Yong Tau Foo anyone?


11. After fish balls have soaked in the water for 1/2 hr, boil some water & cook them, then enjoy with a bowl of noodles, stuff them into vegies to make yong tau foo or just on its own! :-)

YUMMY!!!! And so much more nutrition for you and the kiddies compared to the store bought frozen ones...
Share/Bookmark

Thursday, April 14, 2011

Chocolate and Orange Hot Cross Buns

Breakfast: 13-Apr-2011

Wanted to bake something today but just didn't know what... so off I went searching on the internet then I remembered during our chat last night after Boot Camp exercise that  somehow hot cross buns came into the conversation and no, I had never made any before... hence resulting in some direction for my internet search... and my inspiration for tonight's baking for tomorrow's breakfast... LOL! My kids don't seem to like sultanas very much, so I searched for chocolate hot cross buns and found one with orange... Yummy...  :-)


Blessed Easter Everyone! :-) Please stay safe on our roads this holidays yah... 


Recipe was adapted from 2 separate websites:
(a) http://www.timesonline.co.uk/tol/life_and_style/food_and_drink/recipes/article5982542.ece
(b) http://womansday.ninemsn.com.au/food/everydayrecipes/994527/mini-choc-chip-hot-cross-buns


Ingredients:

Before Proving
For Hot Cross Buns:
500g White Wings plain flour
2 tsp dried yeast
1 tsp salt
1 tsp mixed spice
100g chocolate chips (preferable dark, but milk is OK too)
50g sultanas (I didn't have this on hand, so I just substituted with more choc chips)
Zest of 2 navel oranges, finely grated (I used my zester to zest orange then used a pair of scissors to cut finer)


2 tbsp honey
1 egg (lightly beaten)
200ml warm water (I put freshly squeezed orange juice instead for a stronger orange flavor & it was divine)
After Proving
100ml warm milk (I used low-fat lactose free milk)
25g melted butter


Paste for crosses, I think... *hehe*
For Crosses:
2 tbsp plain flour
1 tbsp cocoa powder
2-2.5 tbsp water


For Glaze:
1/4 cup water
2 tbsp raw caster sugar


Method:
1. Sieve the flour into a large mixing bowl.
Before Crosses added
2. Stir in the yeast, salt, mixed spice, sultanas, orange zest & chocolate.
3. Heat up the milk, add honey to it & stir till honey dissolved in hot milk then allow to cool to a warm temperature.
4. Mix slightly warmed orange juice to milk mixture.
5. Mix egg & melted butter to the cooled milk & juice mixture.
6. Pour liquid into flour mixture then mix until it comes together into a loose dough. I used a spoon to help me do this initially, then when it came together, I used my hand to further mix it through.
7. Knead for 5 minutes until a hand indentation pressed into the surface springs back straight away.
8. Cover & leave in a warm place for about an hour or so until it has doubled in size. Preheat oven to 200Celsius.
9. When doubled in size, lightly knead again to get rid of the air. Roll out into a sausage & cut off approx 10 portions. Roll these into balls & place onto a greased & floured baking tray. Cover again & leave for 20-30 mins until they double in size again.
Enjoy spread with butter!
10. Crosses: In a small bowl, mix flour, cocoa & water to create a smooth paste. Pipe crosses on buns. 
11. Bake for 15 - 20 mins until golden brown & they sound hollow when tapped. Remove from oven.
12. Glaze: In a small saucepan, combine water & sugar. Stir over low heat for 2 - 3 mins until sugar dissolves. Bring to boil, without stirring. Reduce heat & simmer 1 - 2 mins, until mixture thickens slightly. Brush over hot cross buns.
13. Transfer to wire rack to cool.


Spread some butter on it & ENJOY especially (if possible) fresh out of the oven... Mmmm... yummy...  :-) The orange citrus smell is divine... smells so so good... :-)


Share/Bookmark